ATLANTES – quAlity conTroL of cArboN parTs based on machinE viSion
Name of demonstration
ATLANTES - quAlity conTroL of cArboN parTs based on machinE viSion
Main objective
The main objective of ATLANTES is to increase the agility level of CFRP components production lines, by automating their quality inspection process employing a machine vision system. This leads to: reducing the number of false-positive, decreasing the time required for the process and saving costs.
Short description
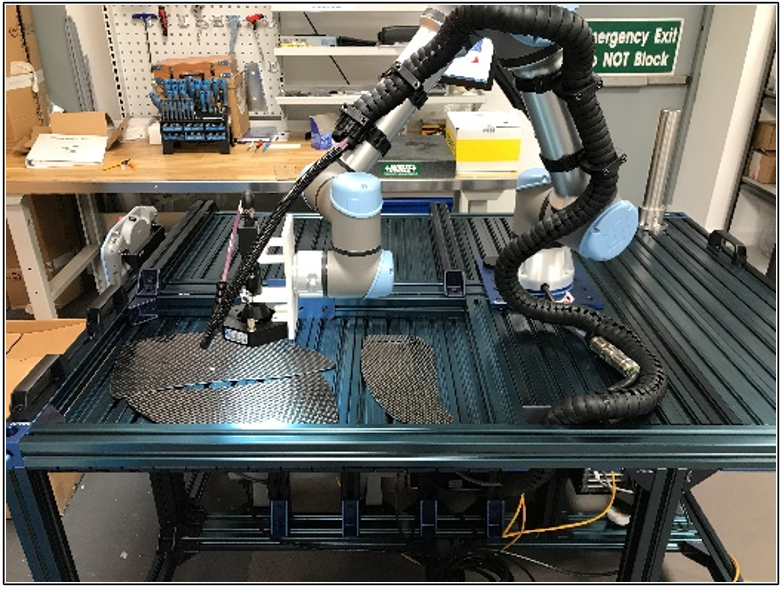
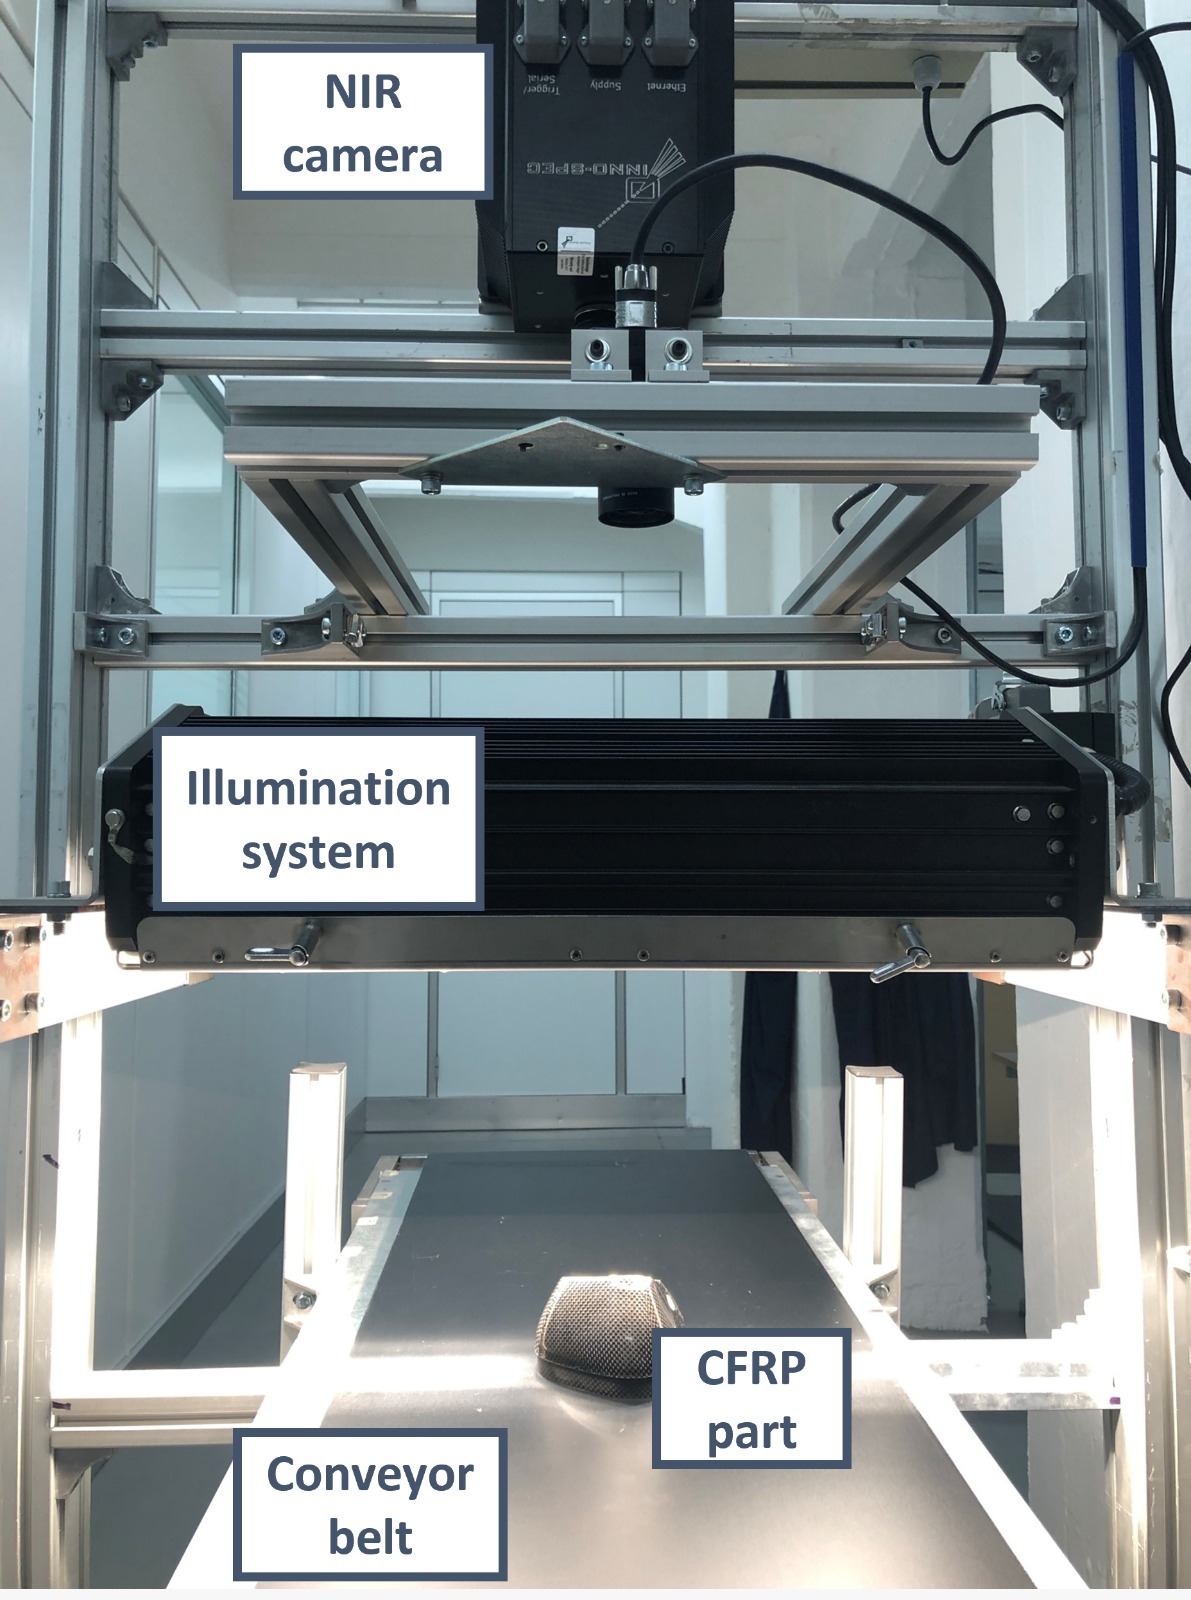
This TRINITY demonstrator introduces an automatic machine vision system into the quality inspection process of CFRP components. The system consists of both a traditional RGB camera and a near-infrared (NIR) hyperspectral one, to cover a wider range of possible defects and detect them better.
This demonstration has received funding from the European Union’s Horizon 2020 research and innovation programme under grant agreement No 825196.
Owner of the demonstrator
Stam S.r.l.
Responsible person
Francesca Canale – Project Engineer, STAM S.r.l.
f.canale@stamtech.com
NACE
C - Manufacturing
Keywords
Machine Vision, CFRP, quality inspection, NIR hyperspectral imaging, RGB imaging.
Benefits for the users
Thanks to this demonstrator, the manufacturing process of CFRP components is:
- More agile: thanks to introduction of the automatic quality inspection system.
- More productive: less human labour wasted in the visual quality inspection process.
In particular, it is possible to:
- Improve the quality: detection of smaller defects with better accuracy.
- Reduce the time required for the inspection process.
- Visual record: the possibility to store images of various parts to have an electronic record of the parts produced.
Innovation
Most manufacturers of CFRP component employ human operators in the quality inspection process of their products, who are obviously much more flexible, but more expensive (because of labour cost and equipment), more fallible and the job is repetitive and causes a lot of mental workload/stress. Thanks to the machine vision system deployed in this use-case demonstrator, the automatic quality inspection of CFRP components is possible, achieving multiple benefits.
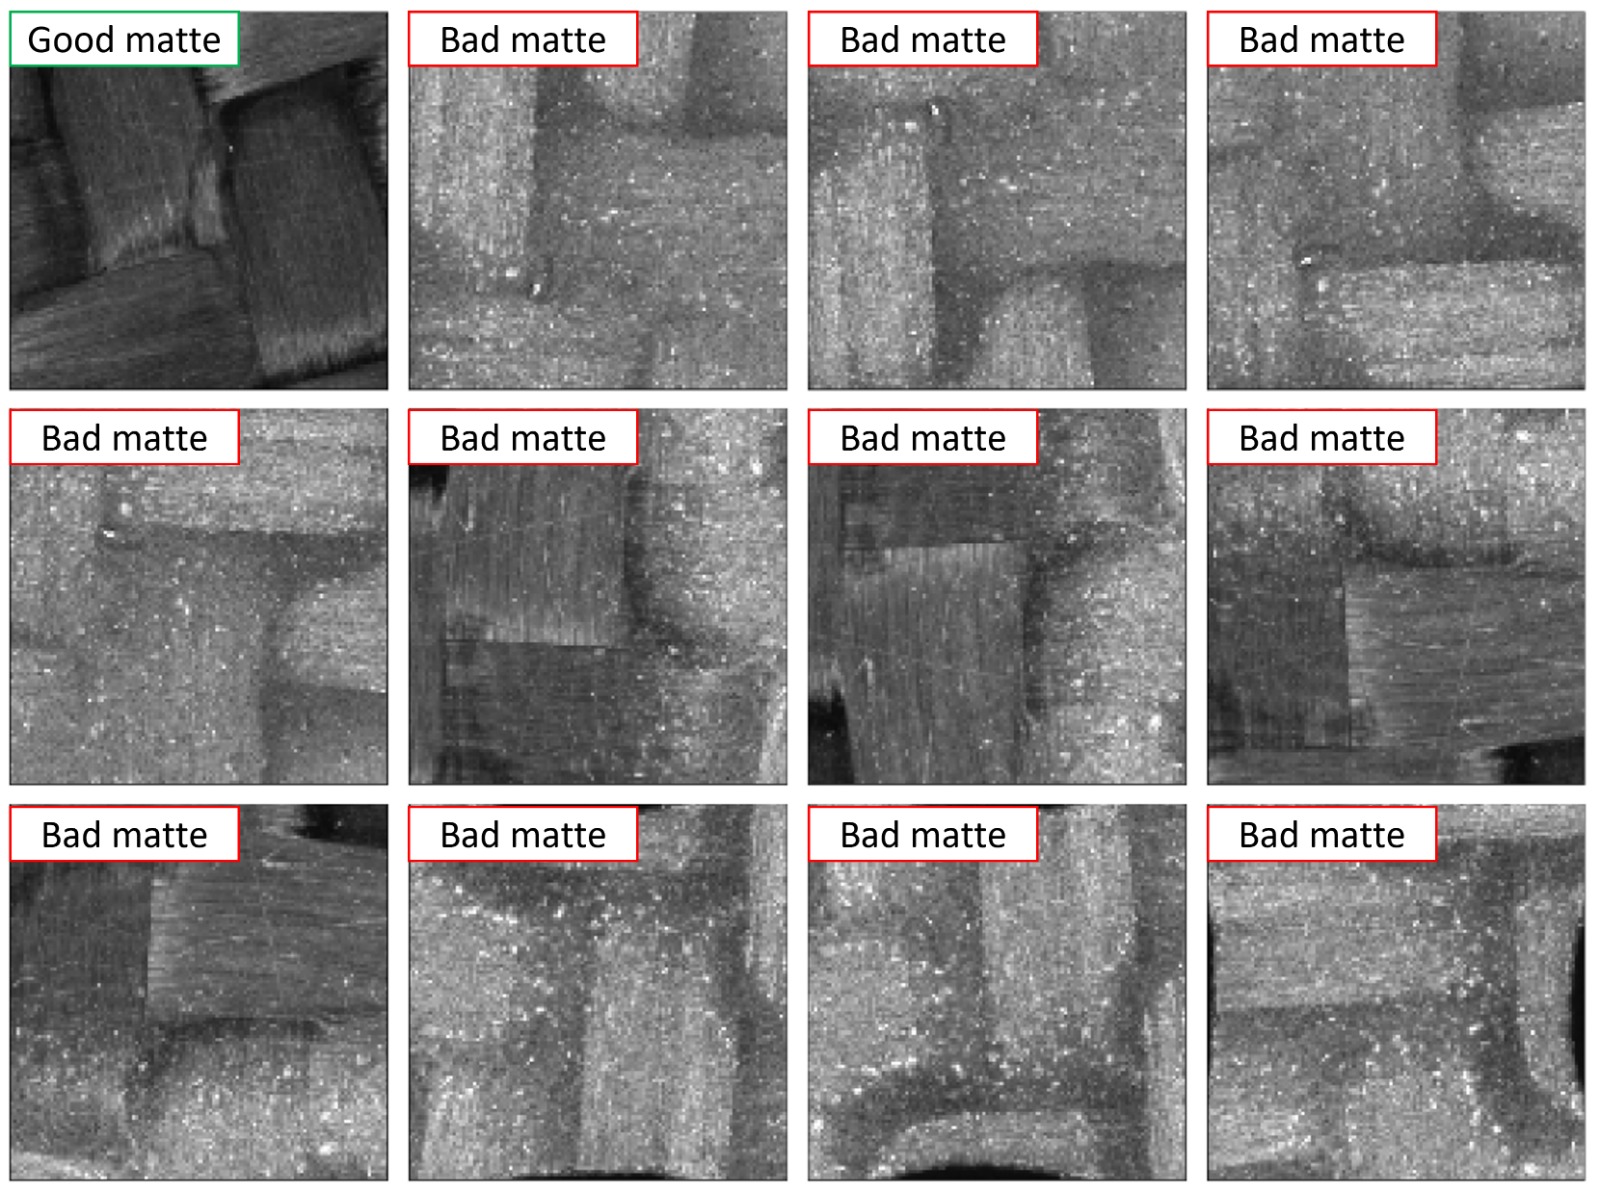
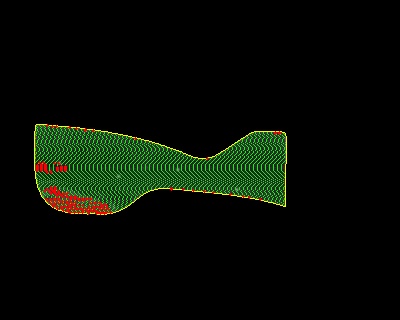
Specific improvements include the ability to detect pitting, weave, and surface matte defects at a high resolution, beyond the feasibility of humans. Carbon fibre is inspected with 2,500 images per m2, with an image resolution of just 0.008mm/pixel, allowing for even the smallest defects to be imaged, with a throughput of 1m2 per hour. This can be further parallelised in the end application to further increase throughput. Using a proprietary lighting method, all three types of defects can be made visible in captured images, with an inspection accuracy of 87% on average, providing significant improvements over human based inspections.
Risks and limitations
1) Shape of the CFRP component: currently, the bests results are achieved with components that have a flat surface, since the curvature of the shape of the components causes unpredictable changes in the reflection of the light. 2) Deep learning limitations: deep learning models would need to be re-trained for each type of carbon composite weave. Deep learning may also return lower accuracy due to slight surface scratches with may not be normally considered a defect. 3) Human assisted technology: due to the limited decision-making capabilities of Deep Learning, the best application of this technology in production is to use it as a human assisted technology, where one human operator can look after multiple inspection machines, and also verify/override inspection results.
Technology readiness level
6 - Safety approved sensors and systems are commercially available
Sectors of application
Manufacturing of CFRP components: various sizes companies dealing with manufacturing of CFRP components that aim to increase automation in their processes. Thanks to this technology, companies would be able to improve the quality inspection process of their components..
Patents / Licenses / Copyrights
Method of lighting carbon fibre composite: specific lighting configuration to simultaneously image multiple defect types in one image.
Hardware / Software
Hardware:
NIR hyperspectral camera: wavelength range from 950 to 1700 nm (such as INNO-SPEC RedEye 1.7).
RGB camera: Viska Visable 12MP camera head, monochrome, 0.5x magnification with integrated proprietary lighting system.
Software:
Driver for the RGB camera: Visable Robotic Inspection system for image capture using a robotic arm.
Driver for the NIR camera: to acquire pictures from the NIR camera and easily make them available in c++/python codes.
OpenCV
C++
Python 3
Tensorflow & Keras
Photos
Trainings
To learn more about the solution, click on the link below to access the training on the Moodle platform
Quality control of carbon parts based on machine vision
